Posted on November 3, 2014
This post brings me back to my second grade classroom and the How to… writing unit of study. We would start off by giving some examples of how to… tie your shoe; make peanut butter and jelly, etc. Writing out a step by step process was the concept to be mastered. As a test to ensure that no steps were forgotten, they had someone actually do it exactly as written. It was very entertaining to see what second grade students came up with; here are two examples.
The pie, I might try.

The (raw) hot dog…

Nostalgic teacher, I digress.
Mali’s table needed a child safe and eco-friendly sealant. The little artist’s workspace was routed, sanded (thank you Dad for helping me do this) and ready to be sealed — After reading about all of the natural benefits of using beeswax, a beeswax and olive oil mixture seemed to be the way to go. Here is the recipe. (You can let me know if I passed the How to unit of study)
How to make a beeswax sealant
You will need:
- A sauce pan
- 1 tempered glass measuring cup
- 3 cups of water
- oven mitts
- 1/4 cup bees wax (you can buy at a health food store or online)
- 1/2 cup olive oil (I used Trade Joe’s Extra Virgin Olive Oil)
- 1 mason jar (I used a 8oz)
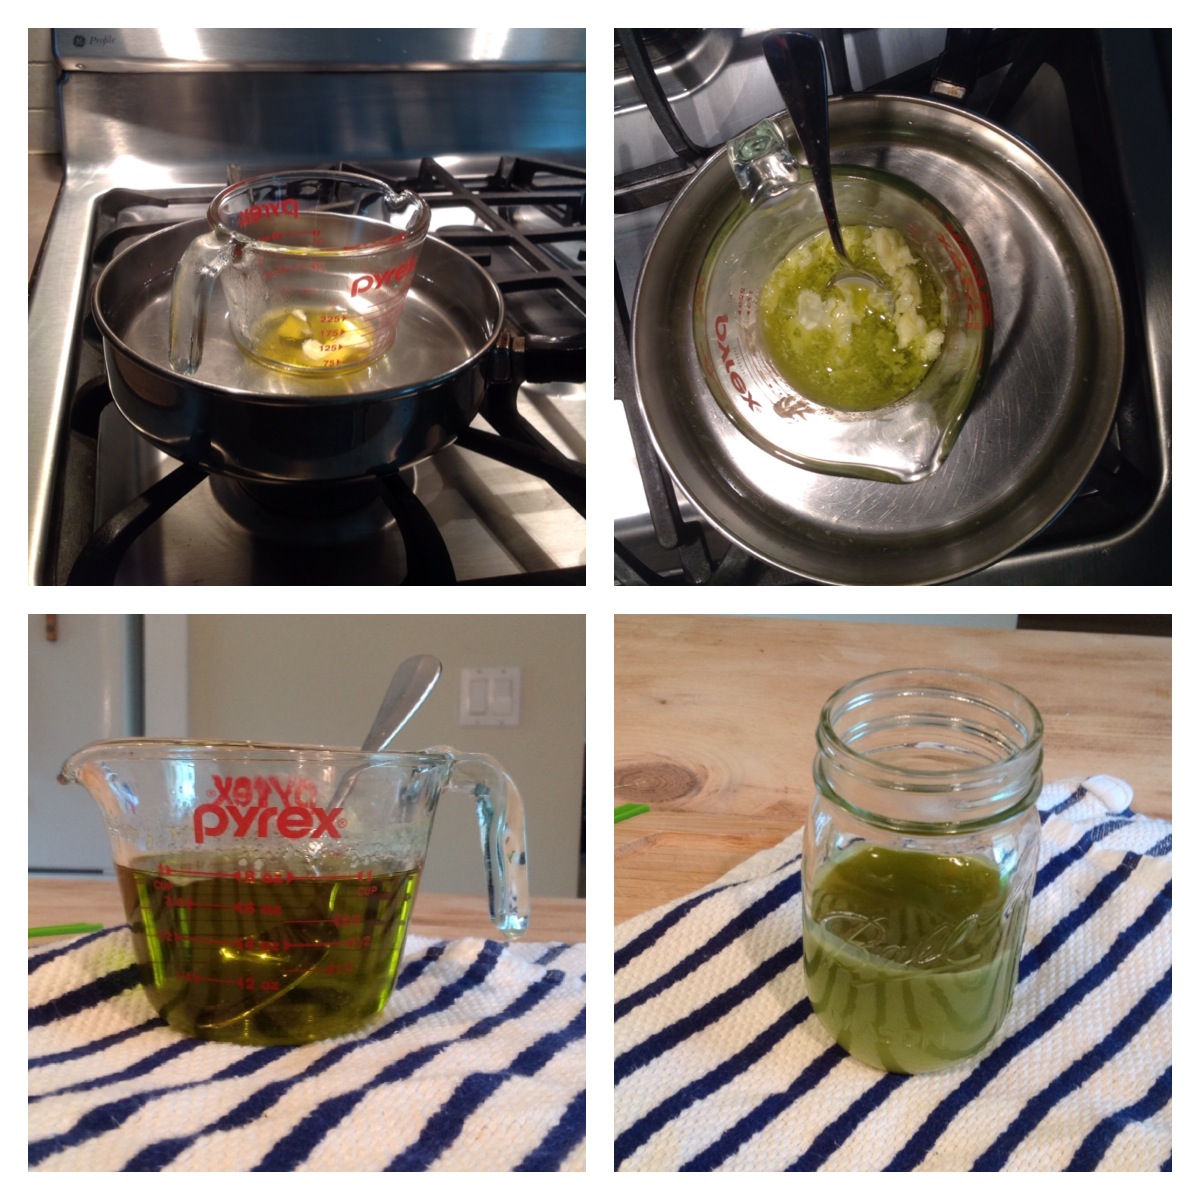
1. Measure out approximately 1/4 cup of wax. It is easiest to cut the bar of wax like you would a hard block of cheese. Start at the edge and rock the knife back and forth so that the wax crumbles.

you can get this at Whole Foods, or online.
2. Next, put the measuring cup of wax into the sauce pan. Fill the pan with the water so that the waterline is flush to wax in the cup. Double boil the wax on a low flame.


* The wax melts pretty quickly; ensure that you are gently stirring it until it melts down. Keep the flame at a low level so that the liquid does not get hotter than 200 degrees F.
3. Next, slowly and carefully pour 1/2 cup of olive oil into the measuring cup. It will instantly start to solidify the wax (see clumps below).

4. Stir the mixture until it is a homogenous liquid.

5. Now, with your oven mitts on, remove the measuring cup from the sauce pan and let it sit for a moment on a towel.
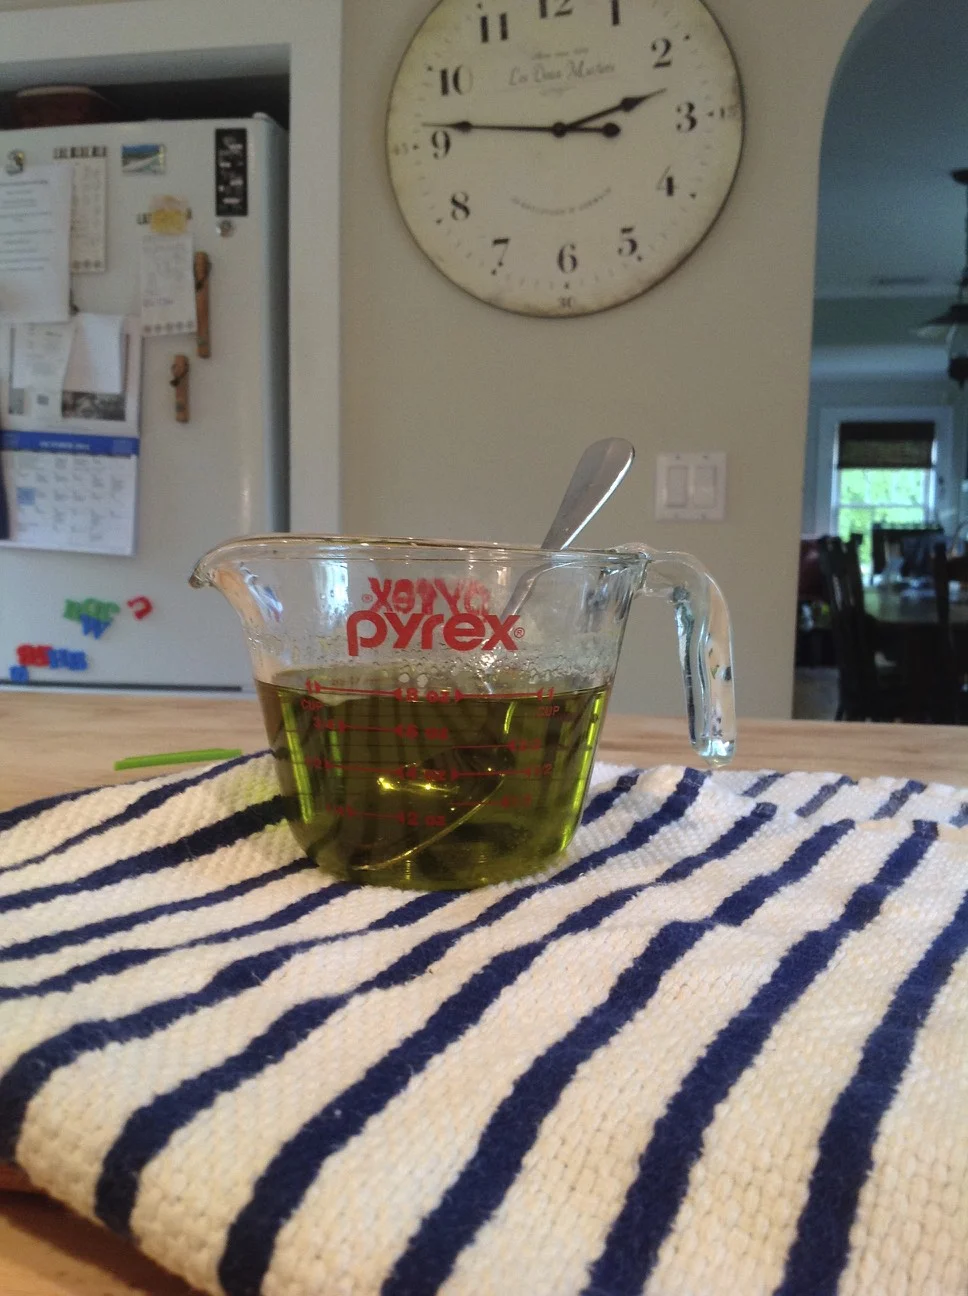
6. Still keep those mitts on, and pour the liquid into a tempered glass jar. (It will keep for several months sealed and in the refrigerator)

7. Your homemade bees wax sealant is now ready for use. (First, I did a sample strip on the left hand side to see how it was going to look.) Here is the table half sealed and half unsealed. (Why I then started on the right is beyond me. ha!)

The sealant protect the wood from drying out and gives the maple surface a beautiful, smooth, and natural finish. It is eco-friendly, safe, and really simple to make. If you use this recipe please share photos of your final project.

Thanks for reading.